Reviewing and verifying FAQs is your main task in the platform, to ensure all content is verified. The system generates FAQs from your sources: your job is to read through them, make any necessary edits, and mark them as verified when they're ready to publish.
Go to Library in the left sidebar and click on the product you want to work on. You'll land on the FAQs tab automatically.

The left panel shows your Topics: thematic groups that your FAQs are organised into. Click a Topic to filter the FAQs down to that theme. Start with whichever topic is most important to your brand.
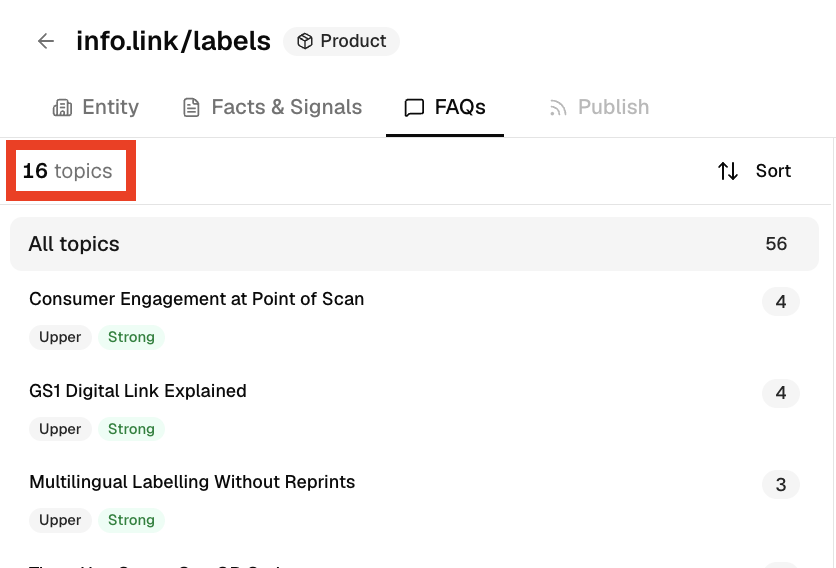
For each FAQ, check:
Is the answer factually correct?
Does it comply with your legal and brand guidelines?
Does it accurately represent your product?
💡 You don't need to rewrite for style. The AI will paraphrase your content anyway when generating answers for end users. Focus on accuracy.
Click directly into the answer text to edit. Make your changes. You can always see who edit which answer and when, when you hover over the “Edited”-Icon. It is also possible to reset the edited answer.
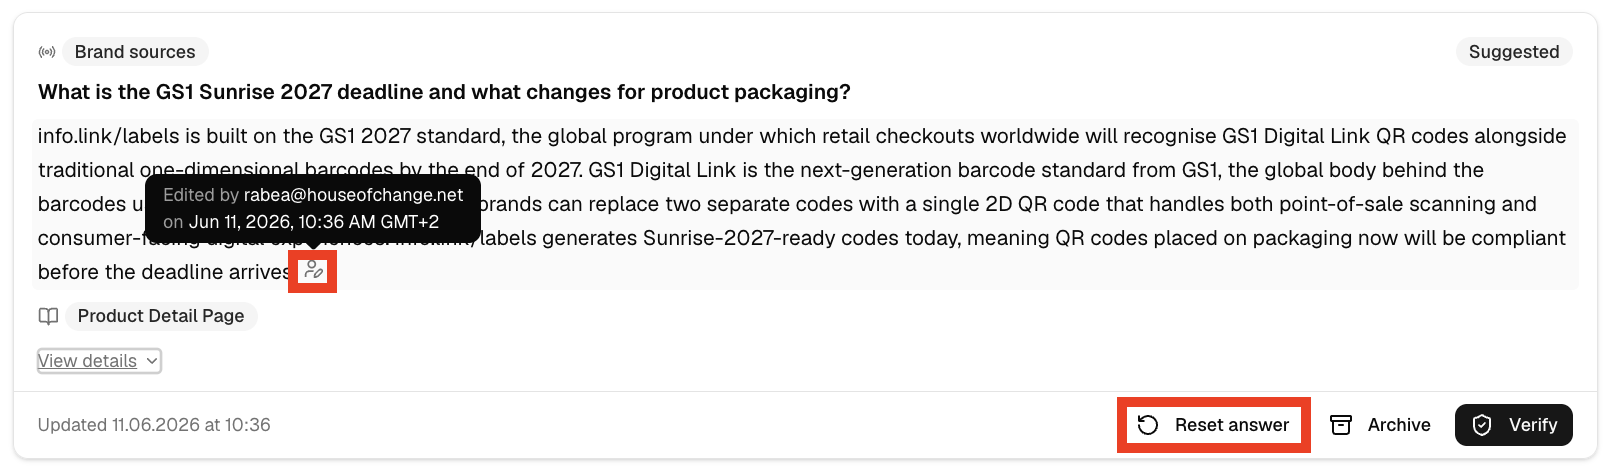
⚠ Important: After editing, click outside the text field and wait for the small user icon to appear next to the answer. This confirms the change has been saved. If you click Verify without doing this first, your edit will not be saved.
Once you're happy with an answer, click Verify (or Verify Anyway if prompted). The FAQ moves from the “Suggested”-tab into the “Verified”-tab.
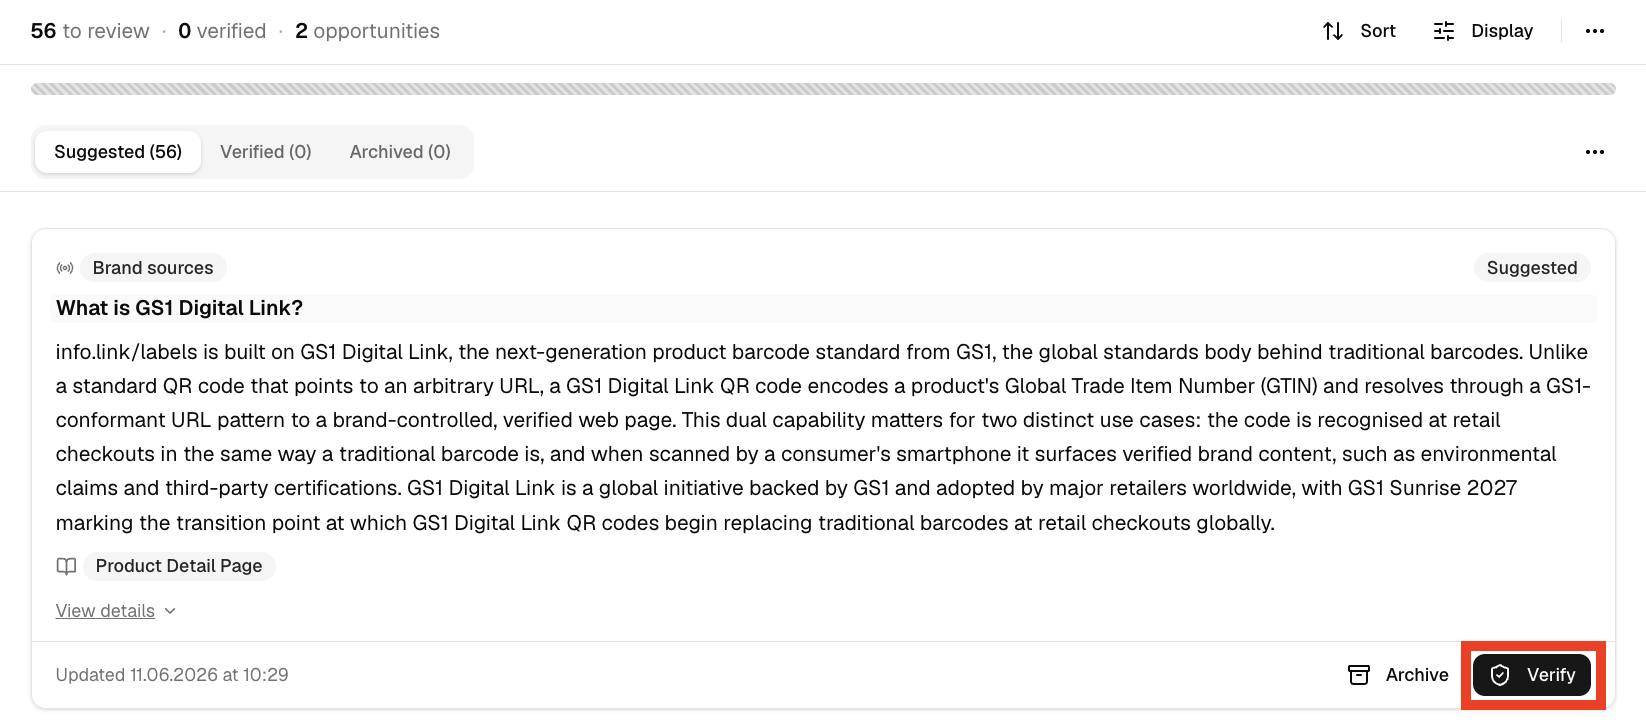
Work through the remaining FAQs. Most will be ready to verify straight away without any edits.
✅ Once all FAQs for a product are verified, you can go to the Publish tab and publish a new snapshot. To learn how to do that, please see the “Publishing and Integration”-help-section.
💡What the user icon means
After saving an edit, a small icon appears next to the answer showing who made the change and when. This is useful when working in a team, so that you can always see who edited what.
💡How to undo a verification
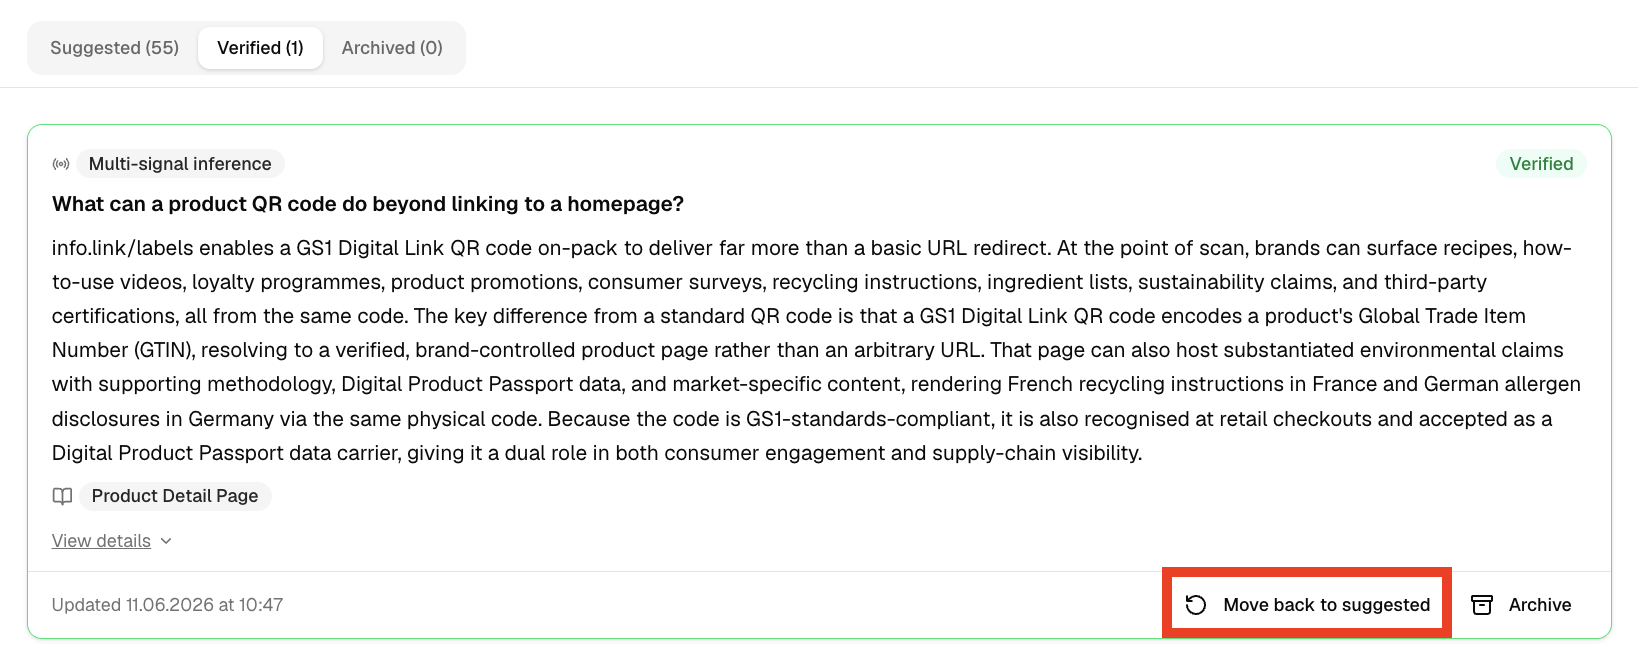
If you verified an FAQ and want to edit it again, you can move it back to “Suggested”. For that, go to the “Verified”-tab and click on the “Move back to suggested”-button.
💡How to archive FAQs
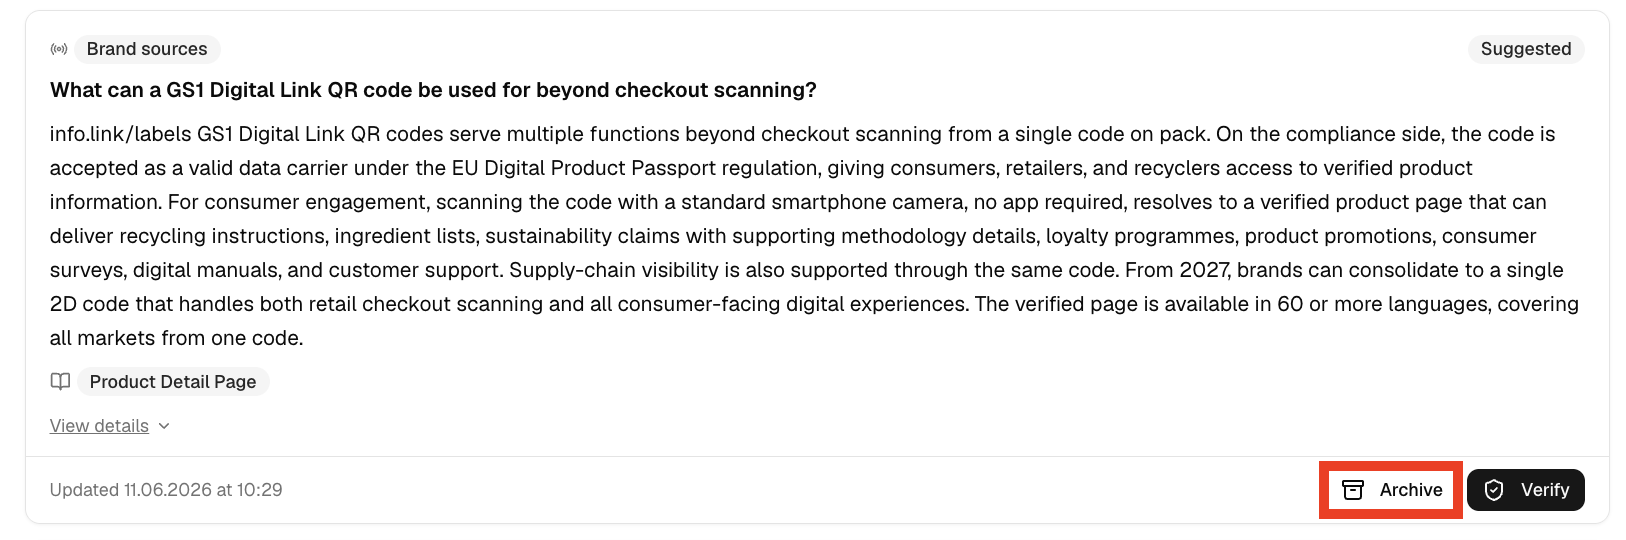
If you see an FAQ that's not relevant at all for your product, click Archive. Archived FAQs are not deleted, but they're hidden from the active queue and can be restored at any time.
❓ My edit didn't save, what happened?
This is the most common issue. After editing an answer, you must click outside the text field and wait for the user icon to appear before clicking Verify. Saving and verifying are two separate actions.
❓ Do I need to review every single word?
No. Focus on factual accuracy and compliance. Wording doesn't need to be perfect, since AI will paraphrase your content when it generates answers for end users.
❓ How many FAQs will there be?
Typically 30–50+ per product, depending on how many sources you've provided. Most clients work through 10–15 per session.
❓ Who verified this FAQ?
Hover over the user icon next to any verified FAQ to see who made the last change.